Important netstat Examples
Execute the netstat command to see whether the command is available on your machine or not.
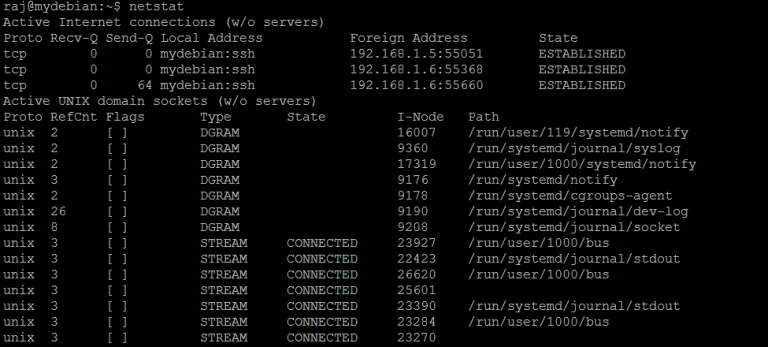
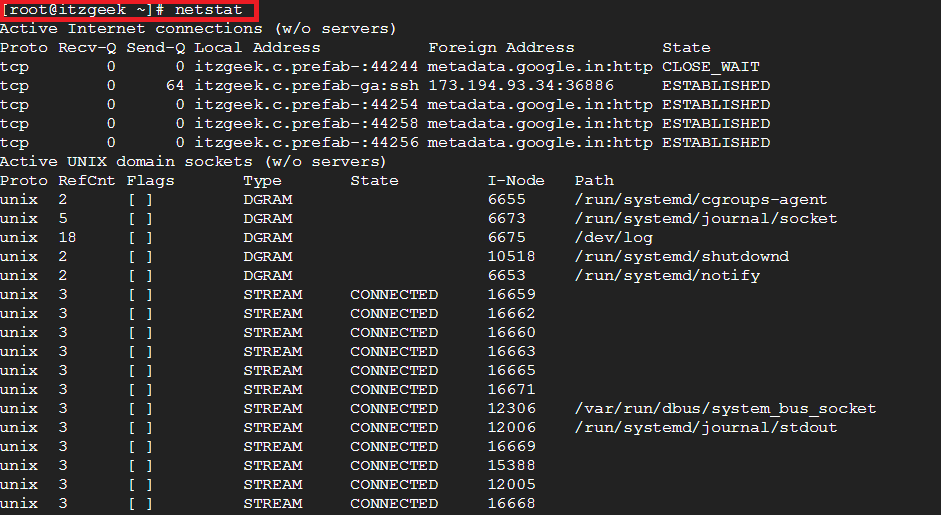
The netstat command with no extra option will only display the listening sockets.
netstat
netstat Command
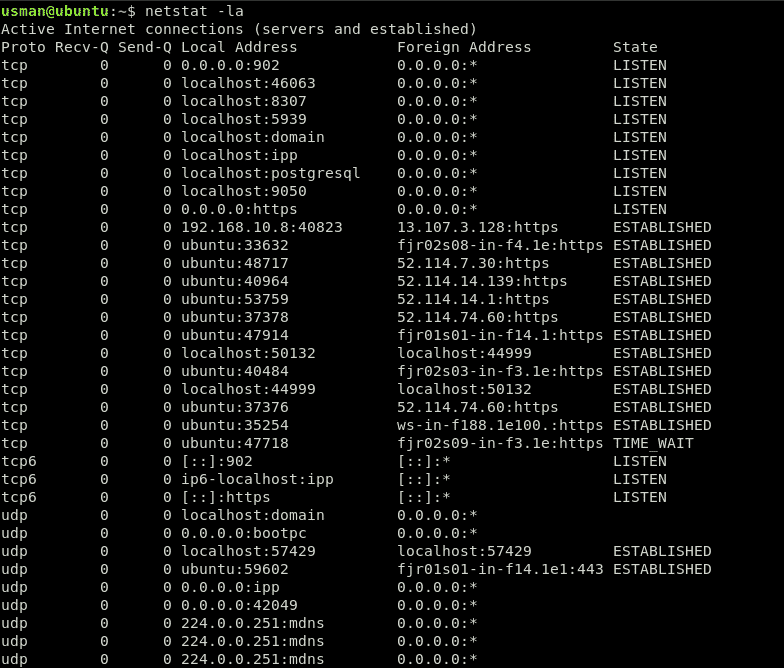
Use -a option with the netstat to display both listening and non-listening sockets.
netstat -a
All Statistics
Use -n option with the netstat to display IP address instead of hostname.
netstat -n
Display IP Address
Use -t with -an to display all TCP connections.
netstat -ant
Display TCP Connections
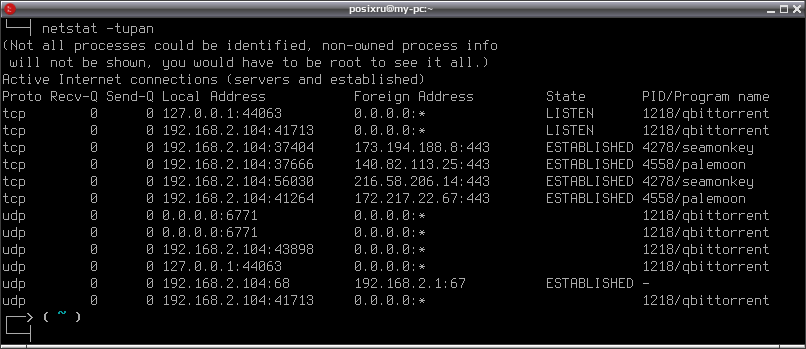
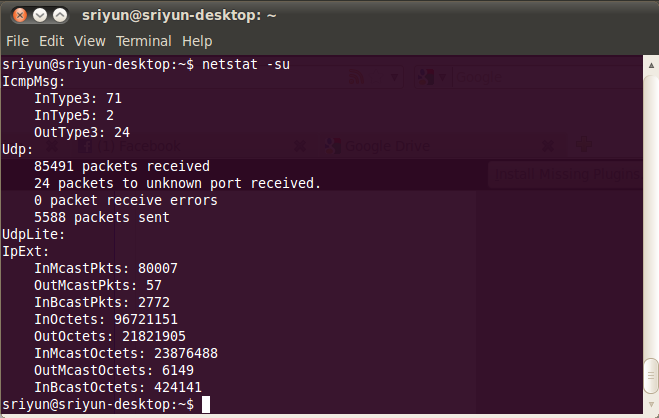
Use -u with -an to display all UDP connections.
netstat -anu
Display UDP Connections
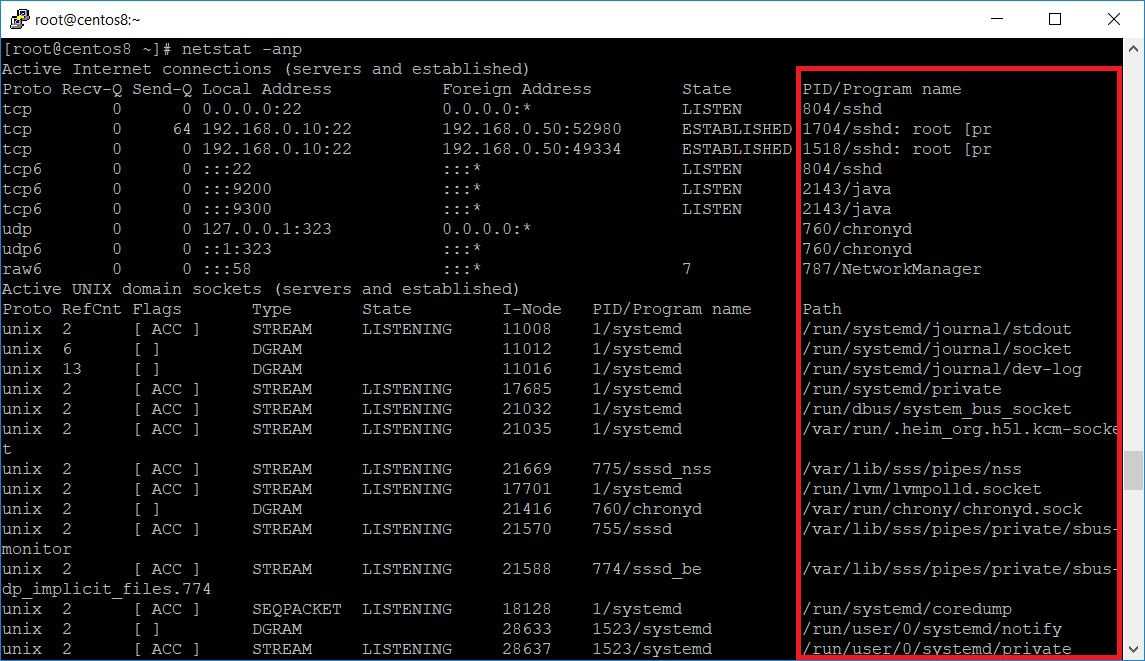
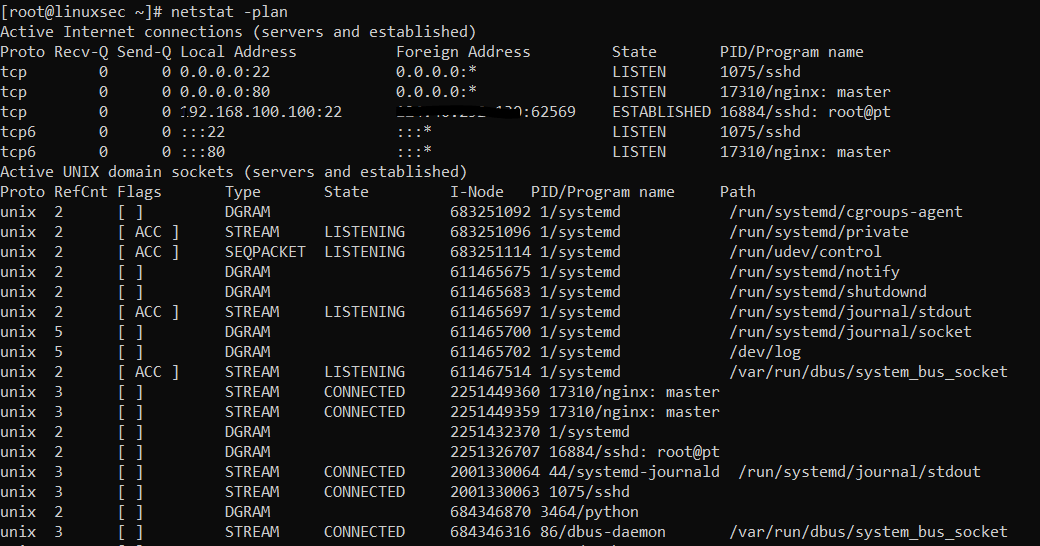
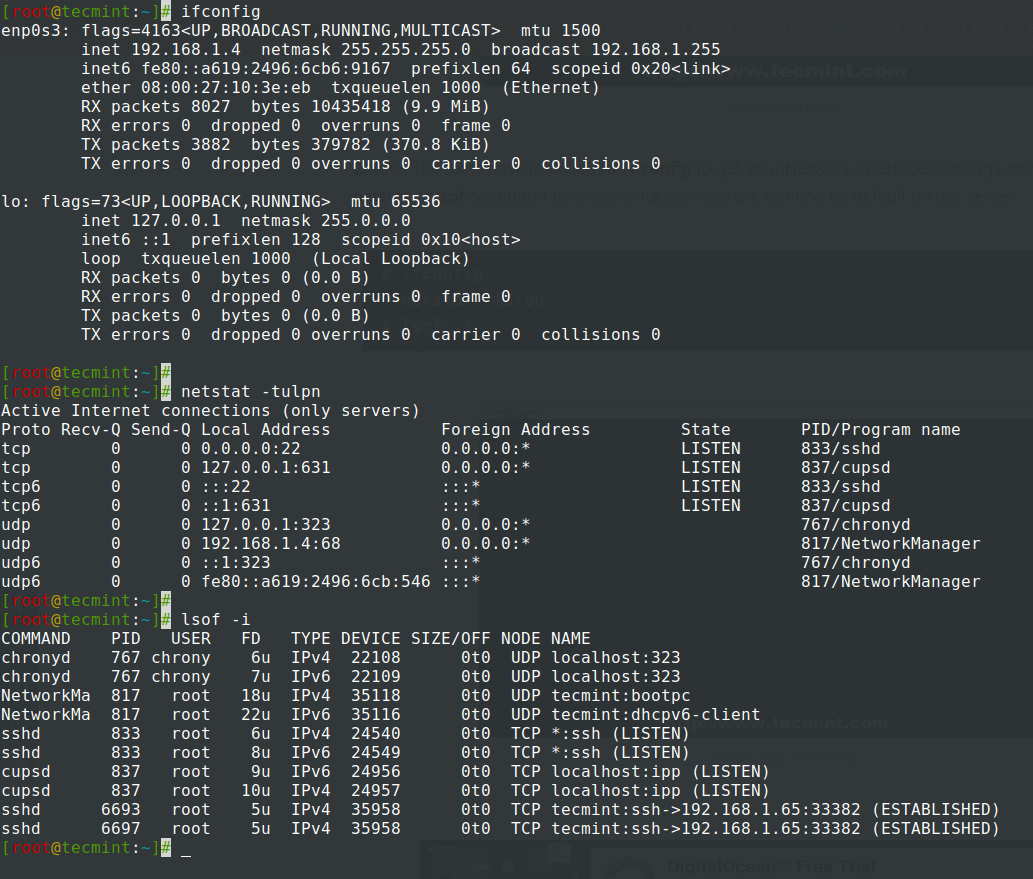
Use -p additionally to any of the above options to display the PID and name of the program to which each connection belongs.
netstat -anp
Display Application Details
Use -nr option with netstat command to display route details.
netstat -nr
Route Details
Как разрешить ошибку «bash: wget: command not found»
Для того, чтобы решить ошибку «bash: wget: command not found», вам необходимо установить утилиту wget на сервере.
В Debian и Ubuntu:
root@ubuntu:~# apt-get install wget
Пример журнала установки:
root@ubuntu:~# apt-get install wget
Reading package lists... Done
Building dependency tree
Reading state information... Done
The following NEW packages will be installed:
  wget
0 upgraded, 1 newly installed, 0 to remove and 0 not upgraded.
Need to get 298 kB of archives.
After this operation, 901 kB of additional disk space will be used.
Get:1 http://ap-south-1.ec2.archive.ubuntu.com/ubuntu xenial-updates/main amd64
wget amd64 1.17.1-1ubuntu1.2
Fetched 298 kB in 0s (401 kB/s)
Selecting previously unselected package wget.
(Reading database ... 51222 files and directories currently installed.)
Preparing to unpack .../wget_1.17.1-1ubuntu1.2_amd64.deb ...
Unpacking wget (1.17.1-1ubuntu1.2) ...
Processing triggers for install-info (6.1.0.dfsg.1-5) ...
Processing triggers for man-db (2.7.5-1) ...
Setting up wget (1.17.1-1ubuntu1.2) ...
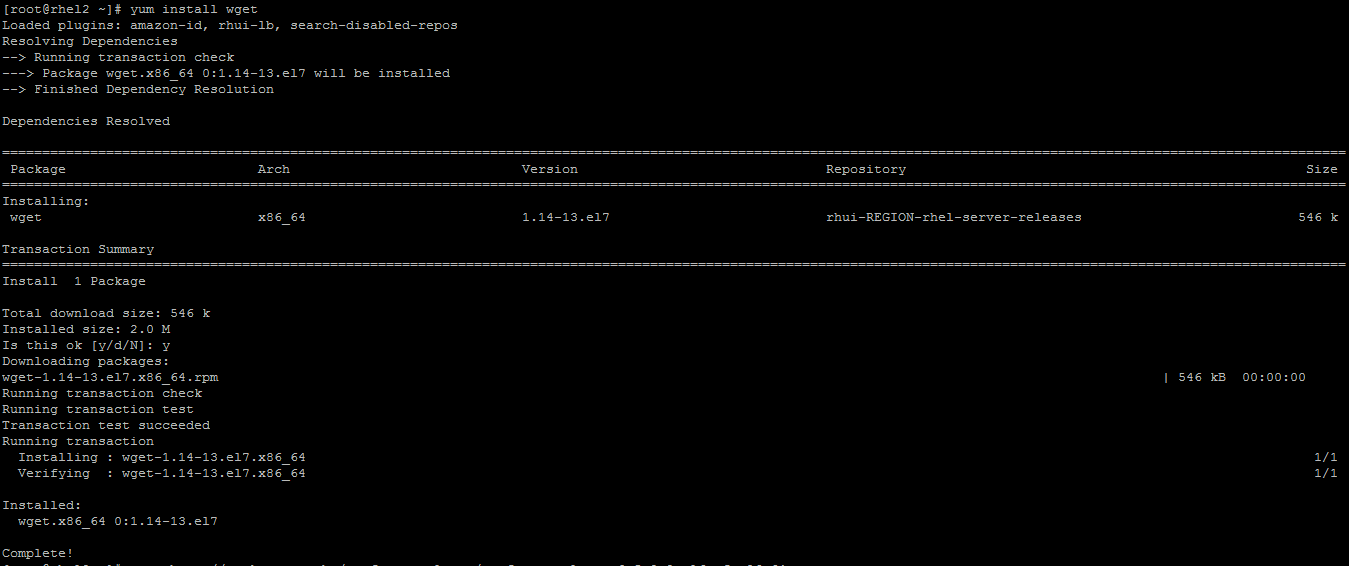
На RHEL и Centos.
# yum install wget
Пример журнала установки:
# yum install wget
Loaded plugins: amazon-id, rhui-lb, search-disabled-repos
Resolving Dependencies
--> Running transaction check
---> Package wget.x86_64 0:1.14-13.el7 will be installed
--> Finished Dependency Resolution

Dependencies Resolved

========================================================================================================================================================================
Package                        Arch                             Version                               Repository                                                  Size
========================================================================================================================================================================
Installing:
wget                           x86_64                           1.14-13.el7                           rhui-REGION-rhel-server-releases                           546 k

Transaction Summary
========================================================================================================================================================================
Install  1 Package

Total download size: 546 k
Installed size: 2.0 M
Is this ok [y/d/N]: y
Downloading packages:
wget-1.14-13.el7.x86_64.rpm                                                                                                                      | 546 kB  00:00:00
Running transaction check
Running transaction test
Transaction test succeeded
Running transaction
  Installing : wget-1.14-13.el7.x86_64                                                                                                                              1/1
  Verifying  : wget-1.14-13.el7.x86_64                                                                                                                              1/1

Installed:
  wget.x86_64 0:1.14-13.el7

Complete!
#
Как использовать wget для загрузки файлов через Интернет.
Синтаксис:
wget http://url/file

or

wget ftp://url/file
Примеры журнала загрузки:
# wget http://packages.sw.be/rpmforge-release/rpmforge-release-0.5.2-2.el6.rf.x86_64.rpm
--2017-05-06 11:21:34--  http://packages.sw.be/rpmforge-release/rpmforge-release-0.5.2-2.el6.rf.x86_64.rpm
Resolving packages.sw.be (packages.sw.be)... failed: Name or service not known.
wget: unable to resolve host address ‘packages.sw.be’
# wget http://dl.fedoraproject.org/pub/epel/7/x86_64/e/epel-release-7-9.noarch.rpm
--2017-05-06 11:21:34--  http://dl.fedoraproject.org/pub/epel/7/x86_64/e/epel-release-7-9.noarch.rpm
Resolving dl.fedoraproject.org (dl.fedoraproject.org)... 209.132.181.24, 209.132.181.25, 209.132.181.23
Connecting to dl.fedoraproject.org (dl.fedoraproject.org)|209.132.181.24|:80... connected.
HTTP request sent, awaiting response... 200 OK
Length: 14704 (14K) [application/x-rpm]
Saving to: ‘epel-release-7-9.noarch.rpm’

100% 14,704      57.8KB/s   in 0.2s

2017-05-06 11:21:34 (57.8 KB/s) - ‘epel-release-7-9.noarch.rpm’ saved [14704/14704]
В приведенном выше примере мы загрузили файл «rpmforge-релиз-0.5.2-2.el6.rf.x86_64.rpm» с адреса URL «packages.sw.be/rpmforge-release/rpmforge-release-0.5.2- 2.el6.rf.x86_64.rpm»с использованием протокола HTTP.
Установите Telnet в Centos7 и Telnet в Centos в окне
y http-equiv=»Content-Type» content=»text/html;charset=UTF-8″>le=»margin-bottom:5px;»>Теги: Linux linux centos
оглавление
Сначала добавьте новых пользователей
Добавить тестовый пользователь ABC, пароль 123456
Примечание. Пароль под Linux скрыт; если вы устанавливаете пароль, вы не обратите внимания на предупреждение.
![Centos советы [rtfm.wiki]](https://myeditor.ru/wp-content/uploads/d/0/e/d0e0b850d4109368802e794377ab0eff.png)
Во-вторых, установите Telnet
После установки службы Telnet по умолчанию не включается, измените файл /etc/xinetd.d/telnet, чтобы включить службу
Примечание. Впервые, если этот файл не существует, вы можете создать модификацию своего собственного VIM.
Проверьте, начал ли Xinetd и Telnet
Если не запустите, используйте следующую команду
В-третьих, тестовое соединение
Проверьте локальную машину в виртуальной машине CentOS
Trying 127.0.0.1… telnet: connect to address 127.0.0.1: Connection refused
Вышеуказанная ошибка появится в это время.
В-четвертых, изменить конфигурацию
Установите загрузку сервисного загрузки
Следующий стартовый сервис
Настроить правила брандмауэра
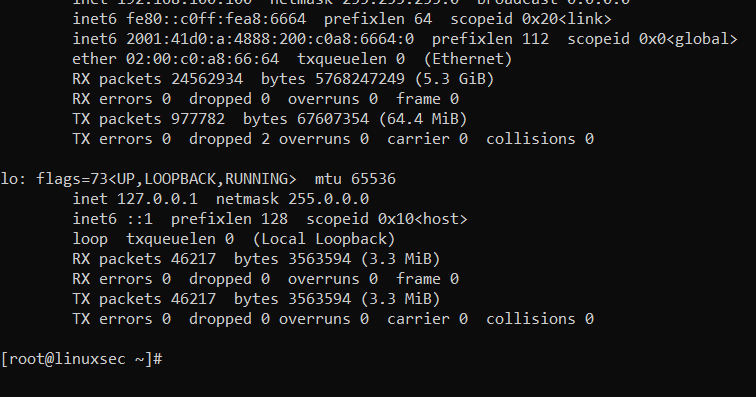
Давайте сначала проверим, открыт ли 23 порт TCP.
tcp6 0 0 :::23 :::* LISTEN
Если существование выше, служба работает.
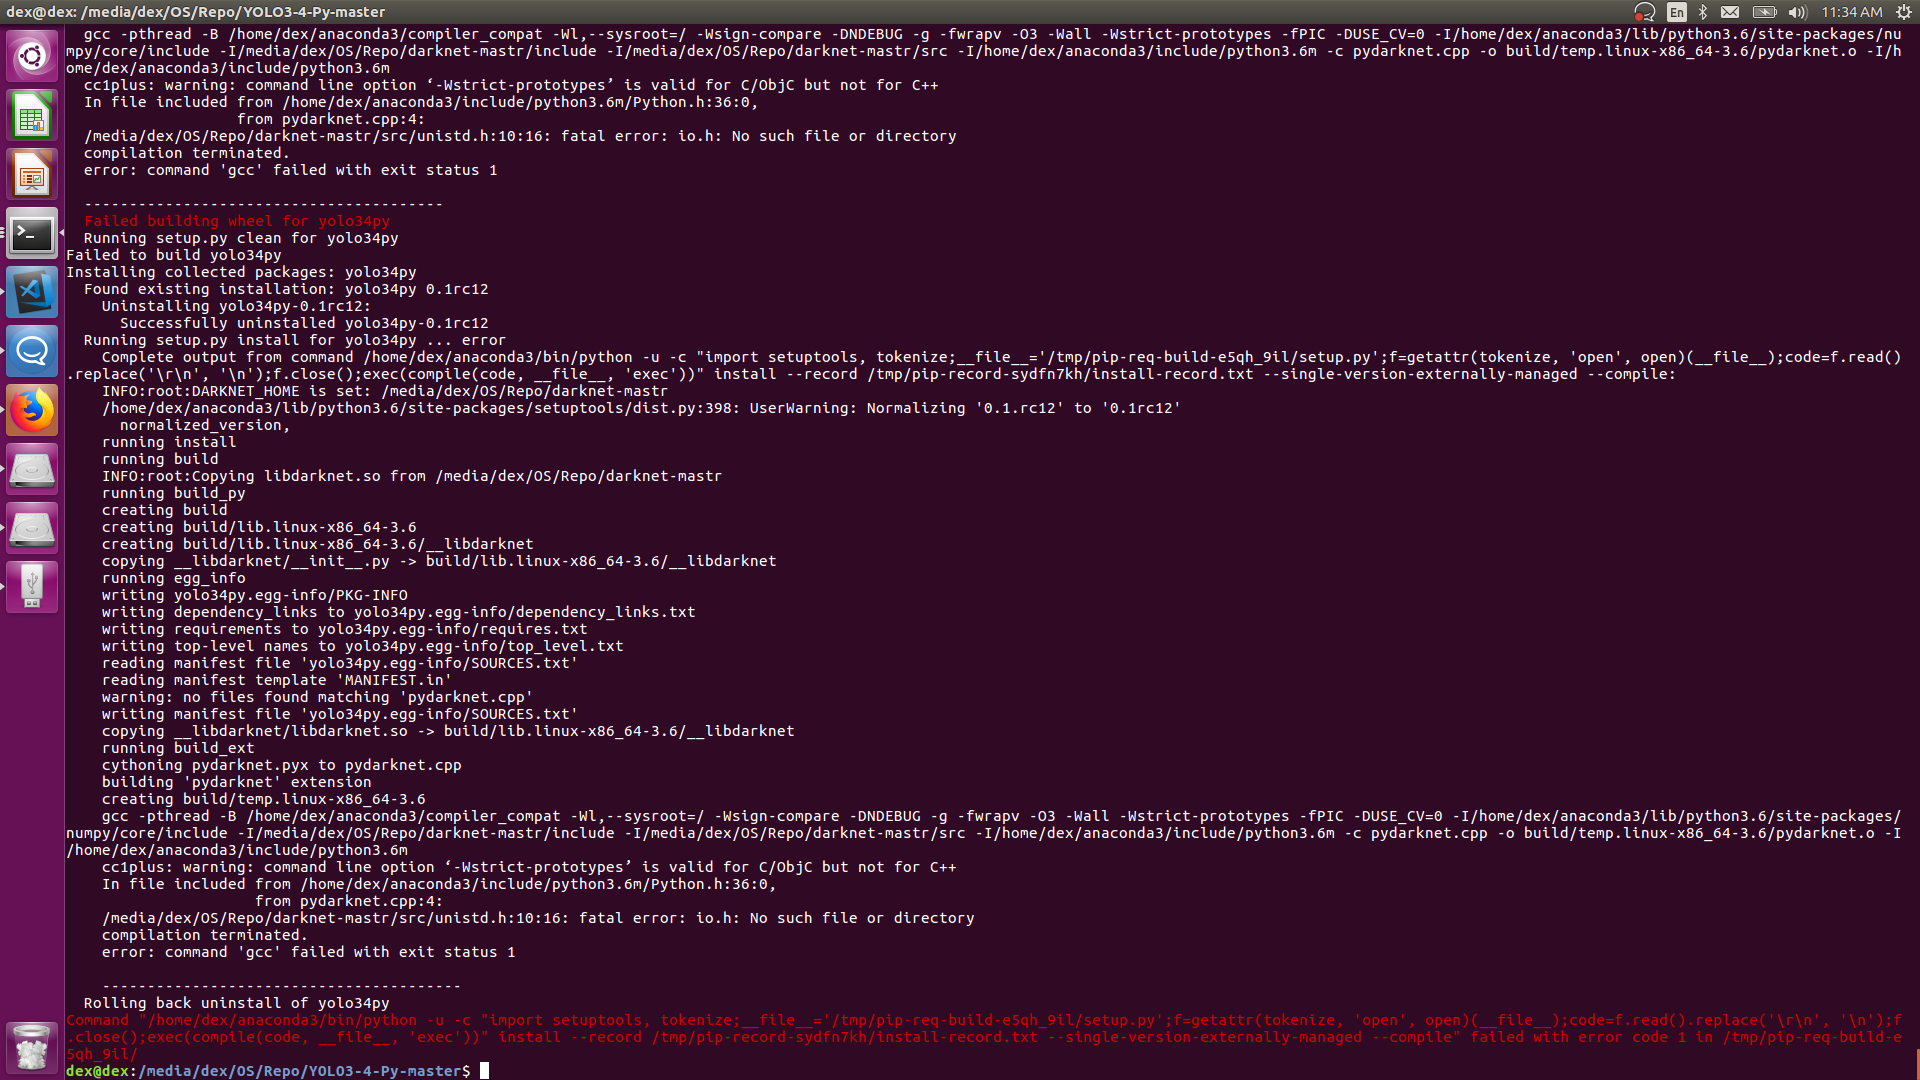
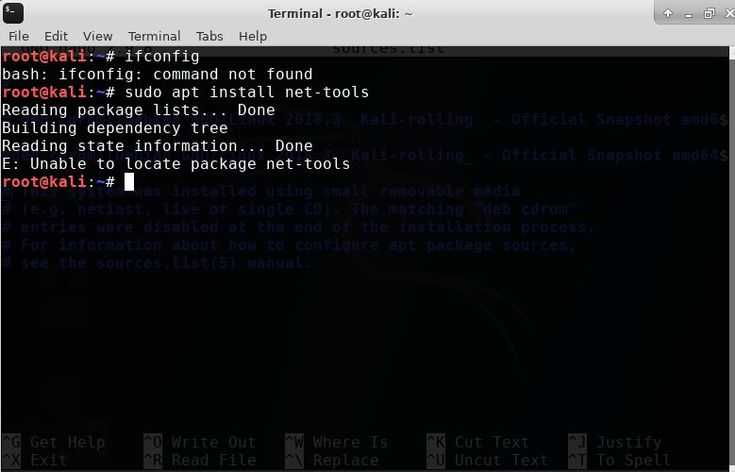
Если будет предложено следующую информацию
-bash: netstat: command not found
Пожалуйста, сначала установите Net-Tools
На данный момент вы можете успешно подключить локальную машину снова.
V. Окно на виртуальную машину Геонтоса
На панели управления -> Программы -> Программы и функции -> Включить и выключить клиент Telnet в функции Windows
Открыть CMD
Примечание. IP приглашен на IP машины, порт по умолчанию, что 23 может быть опущено
На данный момент эта статья заканчивается, спасибо за чтение. Я Чен Бинган, учащийся Java, желающий составить вместе с вами.


Интеллектуальная рекомендация
19.03.21 Я загрузил комплексные обучающие видеоуроки Photoshop CC 2015 и обучающие видеоуроки по новым функциям PS CC 2015. Я просмотрел несколько видео, но мне кажется, что они в основном объясняют н…
…
проверка данных весеннего mvc Два способа проверки данных Spring MVC: 1.JSR303 2.Hibernate Validator Второй метод является дополнением к первому методу Шаги для проверки данных с использованием Hibern…
Существует два способа вызова между сервисами Springcloud: RestTemplate и Feign. Здесь мы представляем сервисы вызова RestTemplate. 1. Что такое RestTemplate RestTemplate — это структура веб-запросов …
1. Понимать предварительный, средний, последующий порядок и иерархическую последовательность бинарных деревьев; Свяжите язык C со структурой данных двоичного дерева; Освойте с…
Вам также может понравиться
Последнее обучение, как использовать Kaldi, чтобы проснуться без использования WSTF, поэтому вам нужно глубоко пойти в Kaldi для обучения. Временное состояние обучения. Три изображения представляют со…
Во время простоя некоторые веб-страницы, которые мы создали, не были завершены, но не хотят, чтобы другие видели, вы можете создать простой эффект шифрования страницы на странице этой веб-страницы, ан…
Расширенные статьи серии Zookeeper 1. NIO, ZAB соглашение, 2PC представления концепции 2. Лидер выборов 3. Рукописный распределенный замок, центр настройки ==================================== 1. NIO,…
Посмотрите на конечный эффект первым DemoPreview.gif SETP1 эффект капли воды Первая реакция на эффект капли воды — нарисовать замкнутую кривую. С помощью события MotionEvent измените радиус во время п…
…
Install netstat Package
This post will help you to install the necessary packages for getting netstat command.
Let us see which package provides us with the netstat command.
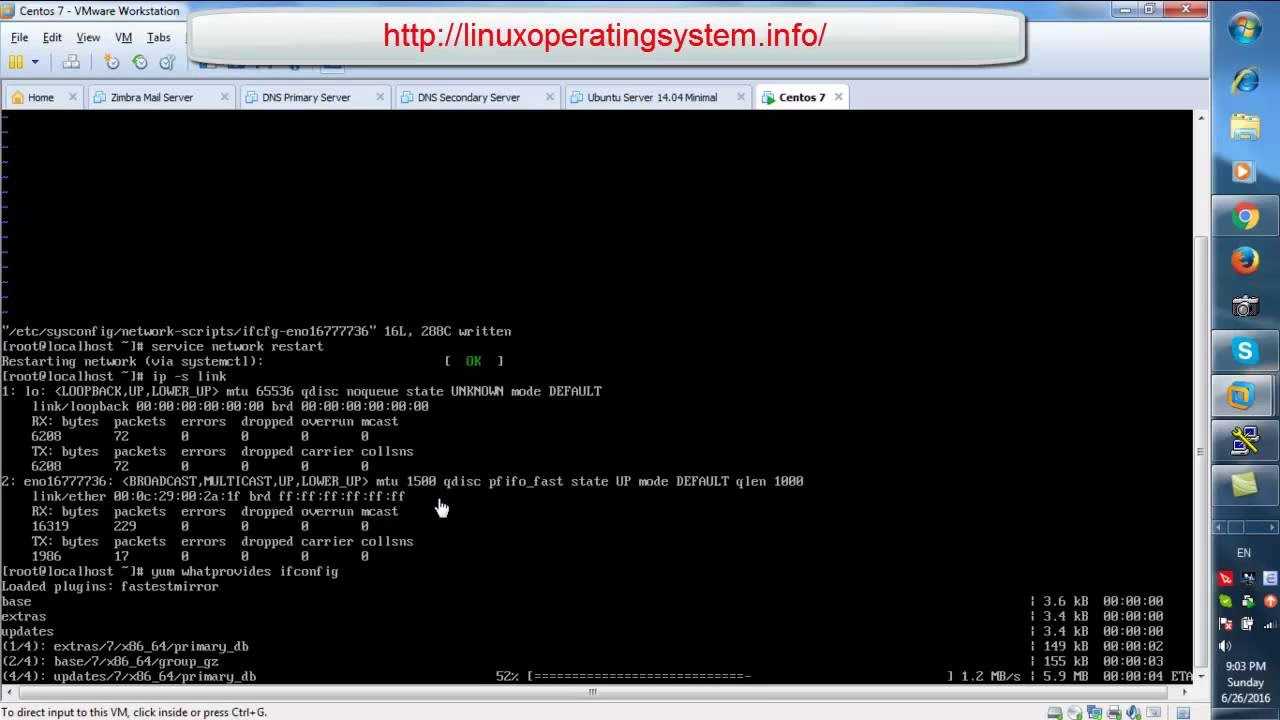
yum whatprovides netstat
Output:
CentOS-8 - AppStream                                                            1.2 MB/s | 5.6 MB     00:04
CentOS-8 - Base                                                                 1.5 MB/s | 5.3 MB     00:03
CentOS-8 - Extras                                                               567  B/s | 2.1 kB     00:03
Elasticsearch repository for 7.x packages                                       754 kB/s | 3.4 MB     00:04
Extra Packages for Enterprise Linux 8 - x86_64                                  515 kB/s | 2.0 MB     00:03
Last metadata expiration check: 0:00:01 ago on Wed 25 Sep 2019 06:26:50 AM EDT.
net-tools-2.0-0.51.20160912git.el8.i686 : Basic networking tools
Repo        : BaseOS
Matched from:
Filename    : /usr/bin/netstat

net-tools-2.0-0.51.20160912git.el8.x86_64 : Basic networking tools
Repo        : BaseOS
Matched from:
Filename    : /usr/bin/netstat
From the above command, you could see that the net-tools package provides you netstat command. So, install the net-tools package using the yum command.
yum -y install net-tools
Output:
Last metadata expiration check: 0:03:09 ago on Wed 25 Sep 2019 06:26:50 AM EDT.
Dependencies resolved.
================================================================================================================
 Package                 Arch                 Version                                Repository            Size
================================================================================================================
Installing:
 net-tools               x86_64               2.0-0.51.20160912git.el8               BaseOS               323 k

Transaction Summary
================================================================================================================
Install  1 Package

Total download size: 323 k
Installed size: 1.0 M
Downloading Packages:
net-tools-2.0-0.51.20160912git.el8.x86_64.rpm                                   1.4 MB/s | 323 kB     00:00
----------------------------------------------------------------------------------------------------------------
Total                                                                           183 kB/s | 323 kB     00:01
Running transaction check
Transaction check succeeded.
Running transaction test
Transaction test succeeded.
Running transaction
  Preparing        :                                                                                        1/1
  Installing       : net-tools-2.0-0.51.20160912git.el8.x86_64                                              1/1
  Running scriptlet: net-tools-2.0-0.51.20160912git.el8.x86_64                                              1/1
  Verifying        : net-tools-2.0-0.51.20160912git.el8.x86_64                                              1/1

Installed:
  net-tools-2.0-0.51.20160912git.el8.x86_64

Complete!
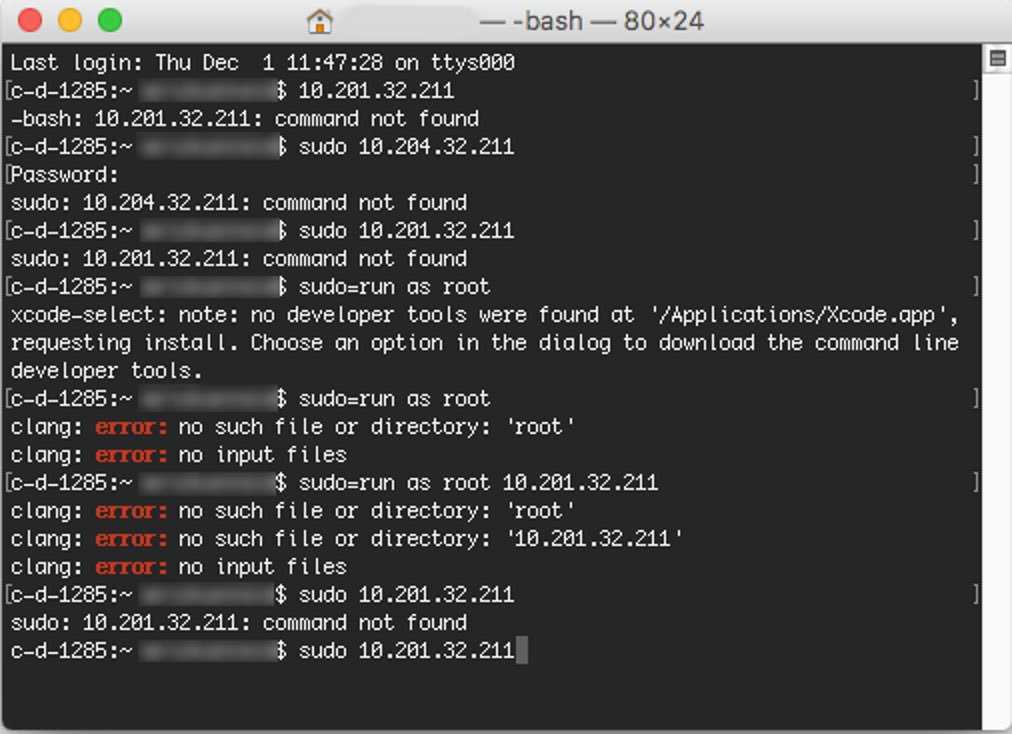
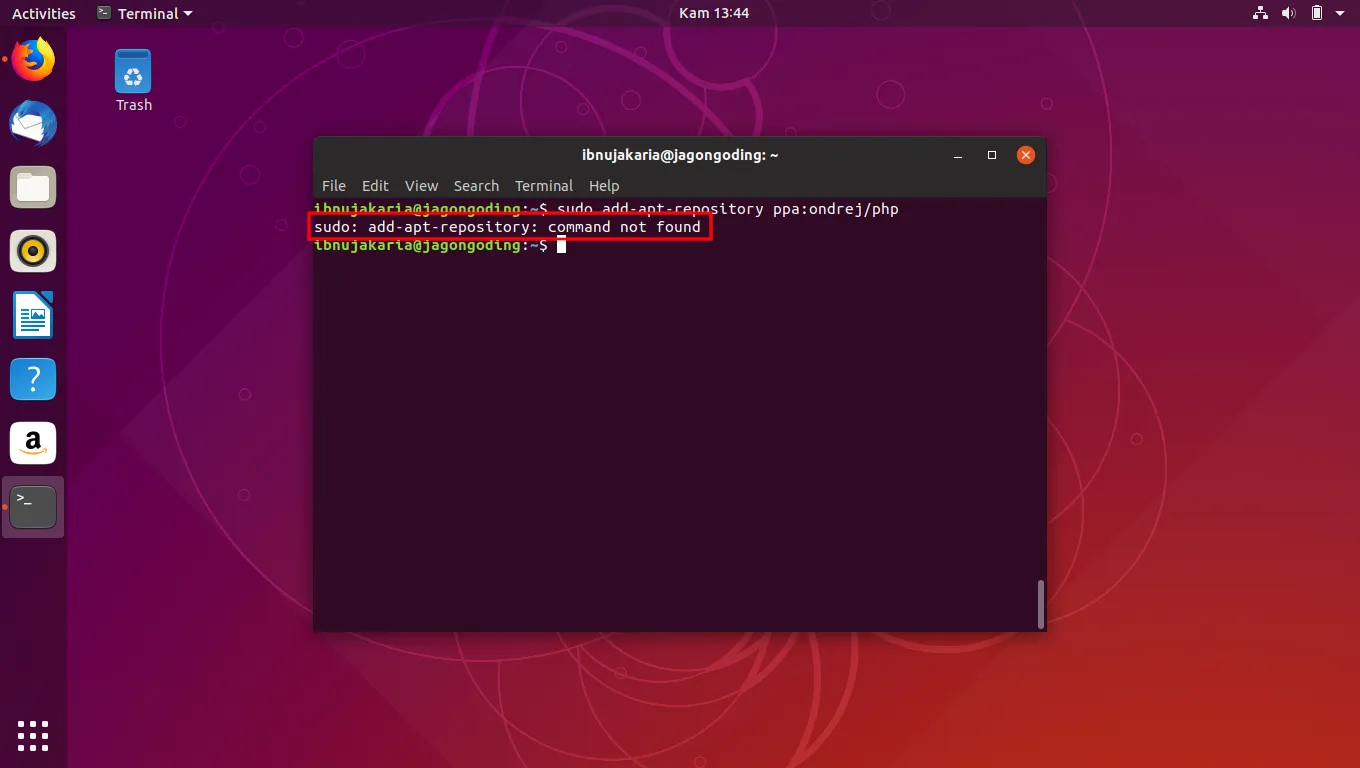
«netstat command not found» error on Linux(RHEL / CentOS, Ubuntu, OpenSUSE )
Also Read: Solved: AH00558: httpd: Could not reliably determine the server’s fully qualified domain name
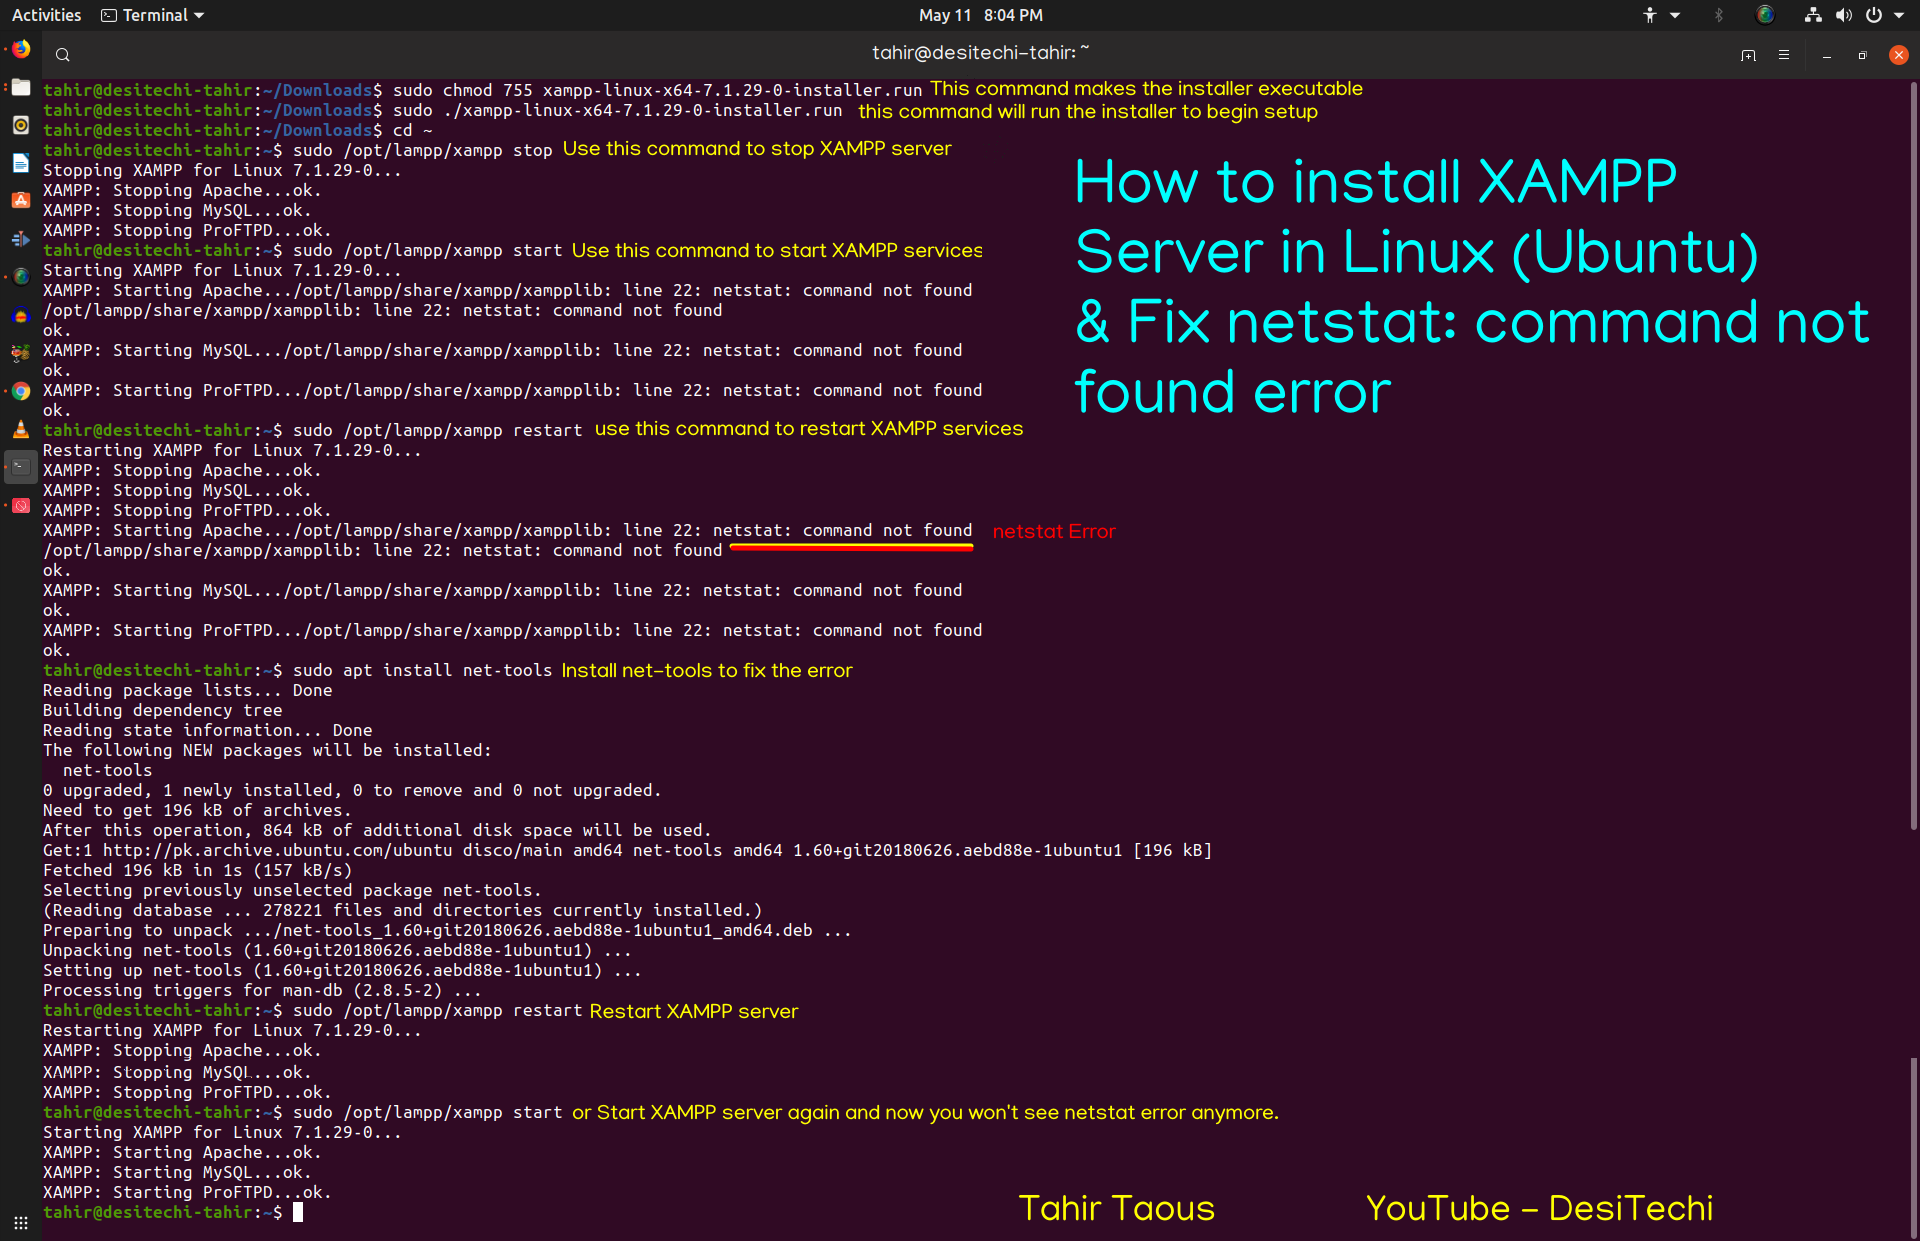
If you have recently setup a fresh Linux Server then probably when you run command then you get error as shown below.
# netstat -an | grep -i 443
-bash: netstat: command not found
To install netstat command on your RHEL/CentOS based Servers, you need to use yum install net-tools -y command as shown below.
# yum install net-tools -y
Loaded plugins: fastestmirror
Loading mirror speeds from cached hostfile
* base: mirrors.piconets.webwerks.in
* extras: mirrors.piconets.webwerks.in
* updates: mirrors.piconets.webwerks.in
Resolving Dependencies
--> Running transaction check
---> Package net-tools.x86_64 0:2.0-0.25.20131004git.el7 will be installed
--> Finished Dependency Resolution

Dependencies Resolved

========================================================================================================================================================================
Package Arch Version Repository Size
========================================================================================================================================================================
Installing:
net-tools x86_64 2.0-0.25.20131004git.el7 base 306 k

Transaction Summary
========================================================================================================================================================================
Install 1 Package

Total download size: 306 k
Installed size: 917 k
Downloading packages:
net-tools-2.0-0.25.20131004git.el7.x86_64.rpm | 306 kB 00:00:00
Running transaction check
Running transaction test
Transaction test succeeded
Running transaction
Installing : net-tools-2.0-0.25.20131004git.el7.x86_64 1/1
Verifying : net-tools-2.0-0.25.20131004git.el7.x86_64 1/1

Installed:
net-tools.x86_64 0:2.0-0.25.20131004git.el7

Complete!
NOTE:
Please note that here I am using user to run all the below commands. You can use any user with access to run all these commands. For more information Please check Step by Step: How to Add User to Sudoers to provide access to the User.
![Centos советы [rtfm.wiki]](https://myeditor.ru/wp-content/uploads/e/f/f/effc7599ddf6275568f768d6ebd2b388.png)
Similarly if you are using any other Linux versions then you need to use below command based on the respective Version to install netstat tool on that Linux Server.
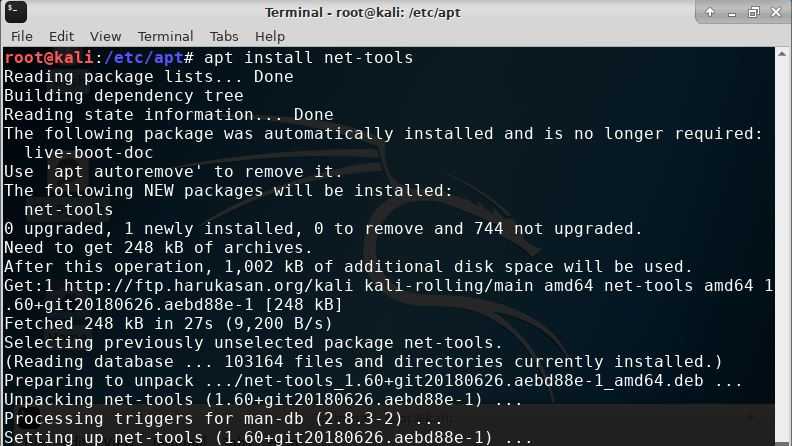
On Debian/Ubuntu Servers
Advertisements
# apt install net-tools
On OpenSUSE Servers
# zypper install net-tools
On Arch Linux Servers
# pacman -S netstat-nat
After successful installation if you again run netstat command and check then you can see it is now working correctly and not showing the previous error as you can see below.
# netstat -an | grep -i 443
tcp6 0 0 :::443 :::* LISTEN
You can also verify the netstat version by using command as shown below. As you can see from below output, netstat is a part of version.
# netstat -V
net-tools 2.10-alpha
Fred Baumgarten, Alan Cox, Bernd Eckenfels, Phil Blundell, Tuan Hoang, Brian Micek and others
+NEW_ADDRT +RTF_IRTT +RTF_REJECT +FW_MASQUERADE +I18N +SELINUX
AF: (inet) +UNIX +INET +INET6 +IPX +AX25 +NETROM +X25 +ATALK +ECONET +ROSE -BLUETOOTH
HW: +ETHER +ARC +SLIP +PPP +TUNNEL -TR +AX25 +NETROM +X25 +FR +ROSE +ASH +SIT +FDDI +HIPPI +HDLC/LAPB +EUI64
You can use command to check all the options available with netstat command as shown below. Also check netstat Man Page for more info.
# netstat --help
usage: netstat   -r netstat {-V|--version|-h|--help}
netstat
netstat {  -I |  -i |  -M | -s  }

-r, --route display routing table
-I, --interfaces=<Iface> display interface table for <Iface>
-i, --interfaces display interface table
-g, --groups display multicast group memberships
-s, --statistics display networking statistics (like SNMP)
-M, --masquerade display masqueraded connections

-v, --verbose be verbose
-W, --wide don't truncate IP addresses
-n, --numeric don't resolve names
--numeric-hosts don't resolve host names
--numeric-ports don't resolve port names
--numeric-users don't resolve user names
-N, --symbolic resolve hardware names
-e, --extend display other/more information
-p, --programs display PID/Program name for sockets
-o, --timers display timers
-c, --continuous continuous listing

-l, --listening display listening server sockets
-a, --all display all sockets (default: connected)
-F, --fib display Forwarding Information Base (default)
-C, --cache display routing cache instead of FIB
-Z, --context display SELinux security context for sockets
Popular Recommendations:-